
Quilting Basics: Tools & Notions
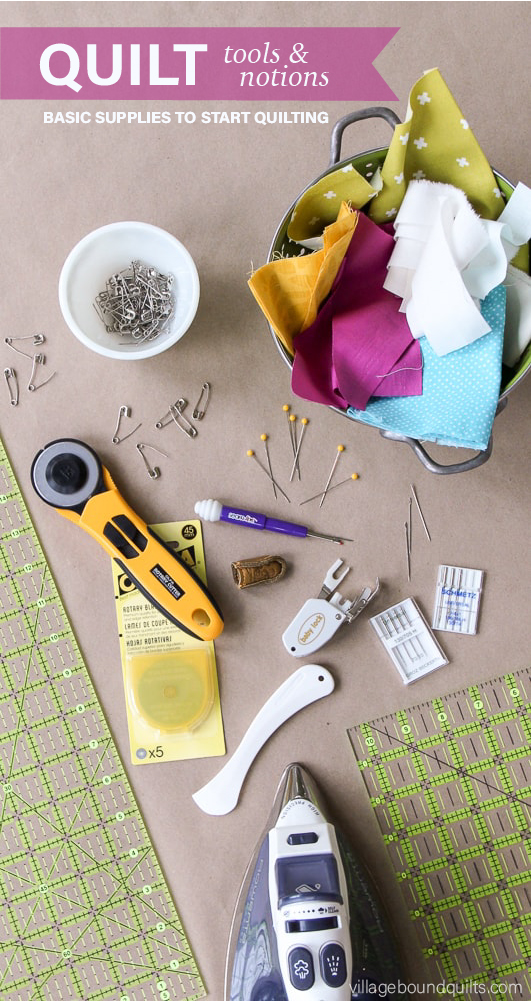
If you're new to quilting and wondering what tools you need to make a quilt it can be really overwhelming. There are a TON of fancy pins, clips, rulers, machines and gadgets out there for quilters that, while they are a lot of fun and can be useful, aren't necessary for the majority of quilt work. Here's the tough truth: quilting can be expensive. But the investment in good quality tools at the start is paramount, as you'll have many of these for years to come. So, aside from fabric, thread and batting, here's what you really need (the basics, without all the bells and whistles):
Feel free to click here if you’d like to jump straight to shopping my favorite notions!

Sewing Machine
We could argue semantics that you don't actually need a sewing machine (or anything beyond a needle, thread and fabric), since you absolutely can make a quilt by hand; but for all intents and purposes, you'll need a sewing machine. It doesn't need to be fancy or cost a lot of money - I know plenty of established quilters who still sew, quilt and bind their quilts on their $90 machine purchased at the nearest department store a decade ago. Will an upgraded machine make a difference? Yes, but they can be pricey and you're already going to be spending a couple hundred dollars on your initial tools. Besides, no one wants to spend $3000+ on a machine as a beginner. So look for a machine that is sturdy and has a good straight stitch. If you want a few extra features, look for one that has an automatic needle threader (so you're not struggling to do it by hand) and variable speed control (so you can sew slow or fast).
In case you think I'm full of hot air, for over eight years I sewed on a Babylock Grace, A-line series. It's a now discontinued model, but it's nearly identical to the Babylock Rachel. In 2011 it was purchased new for about $300, and I neglectfully only had it serviced once in 2017 (if you sew regularly, you should service your machine every 12-18 months). I rarely used the decorative stitches but loved the drop-in bobbin feature. In 2019 I upgraded to a Juki TL-2010Q. It’s non-computerized and only sews a straight-stitch, but the power and speed it has more than makes up for its lack of diverse stitch capabilities. This one is a workhorse and sews through multiple layers (ahem, quilt sandwiches, anyone?) like butter *chef’s kiss*

Walking Foot
The most versatile of all sewing machine attachments is the walking foot. Sometimes known as an even-feed foot, it's a bit strange looking with a big, bulky mechanism on the back and an arm that attaches to the machine needle bar. It has an extra set of feed dogs which help to grip your top fabric and work it through your needle at the same pace as your bottom fabric. And while you could realistically attach it to your machine and never need another foot, the best time to use your walking foot is when you're quilting your quilt or attaching the binding. That is, it's most helpful when you have multiple layers of fabric that are moving through your machine at once and you don't want them shifting or stretching unevenly. It's usually more expensive than other sewing feet (I think mine was about $50), but a good investment if you want a more enjoyable quilting experience.

Needles
For your sewing machine, and as a beginner quilter, a few 80/12 universal needles will work fine for everything. It's that easy - seriously! But if you want a little more variety, a 70/10 or 75/11 quilting needle is better for piecing, as the thinner needle will pierce the fabric more easily resulting in smaller holes and fewer skipped stitches. When you get to quilting (sewing all of the quilt sandwich layers together), use a slightly thicker 90/14 needle for durability. And don't just change your needle if it breaks - every 6-8 hours is the general recommendation on a machine needle, so have a few available and ready to work for you. If counting hours is too complex, just start a new needle with every new quilt project.
For hand sewing needles, save yourself the trouble of choosing one and just get a variety pack of needles to test which you like best. A Sharp is a general purpose needle and will work well for most hand sewing needs on your quilt. Quilting Between needles in a size 10 are ideal for traditional hand quilt work, but I personally find them to be too short and small to work with comfortably. For me, when hand binding, hand quilting with perle cotton or even just burying threads, I use Embroidery needles because I find them easier to thread, hold, and manipulate. My favorites are Dritz embroidery needles in size 8. To each their own. Whichever you choose, replace your hand sewing needles frequently too, to avoid damaging your fabrics or yourself.
A quick note on needle sizes: for machine needles, lower numbers are finer, thinner needles and higher numbers are thicker needles. In hand sewing needles, the reverse is true: larger numbers (say, a 10) are finer, shorter needles than smaller numbers (like a 3). It wouldn't be fun if it weren't confusing, right?!
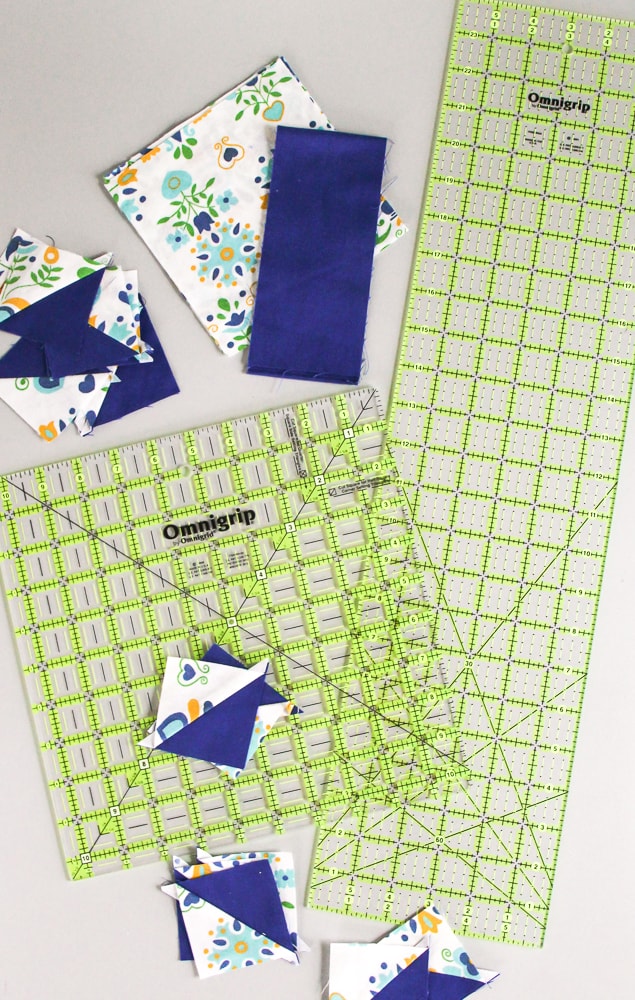
Quilt Rulers
You'll find that quilt rulers come in all shapes and sizes, and while having one in each size you cut most often is convenient, it really isn't necessary. One simple, high-quality acrylic ruler is all you need and will last years to come. Choose a 6" x 24" size with markings to a minimum of 1/8". One that includes marks for angles (30, 45, 60) are helpful too, especially if you're planning to ever cut triangles. I worked for several years with only this one ruler and it's still the one I reach for most often. If you really don't think one ruler is enough, the other you might consider is a large square ruler, at 10" or 12" large. While you can square-up blocks with the larger, longer ruler, a square one may prove easier to manipulate and measure when working with exact squares, especially half square triangles (like the large HSTs in my free Weekend Baby Quilt pattern).
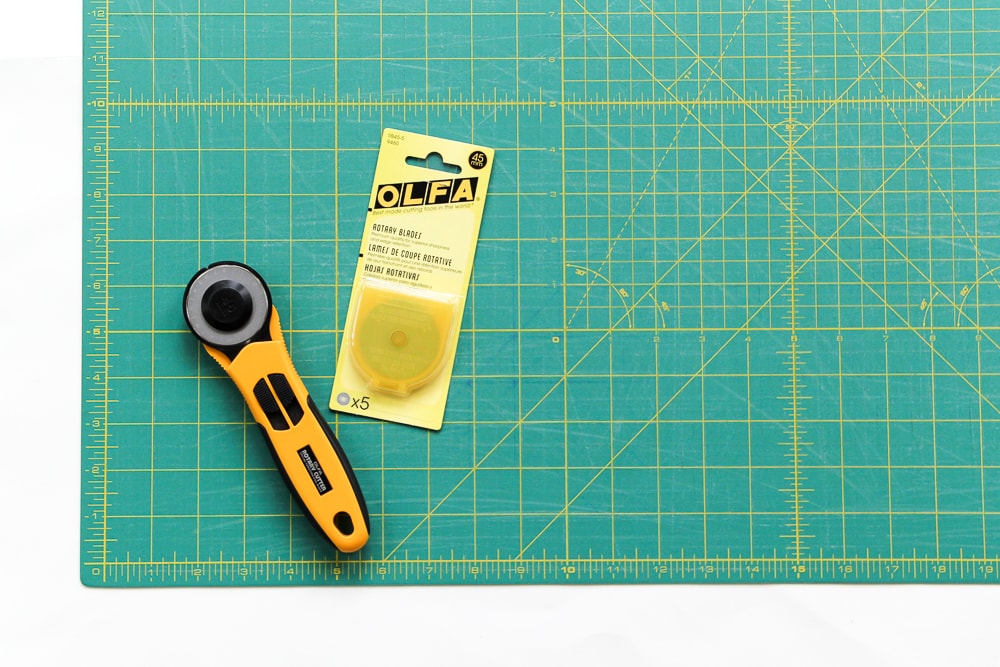
Rotary Cutter & Mat
Get yourself a self-healing cutting mat - the bigger the better (as large as your work space will allow). The self-healing feature means that your mat will last for ages, withstand repeated use, and won't give way to the cuts you dig into it with your rotary cutter. As with your quilt ruler, getting a cutting mat that has at least 1/8" marks and includes 30, 45 and 60-degree lines to aid with cutting angles. And when your mat begins to look like it needs a little attention (cough* like mine shown here cough*cough*), they're easy to clean. Or just flip it over - most self-healing mats are double-sided.
Getting a 45mm rotary cutter will also make cutting fabric quick and accurate. Shape and style are your personal preference, but don't go too cheap (it'll fall apart), and be sure to buy high-quality blades and change them frequently. Your mat and your fabric will let you know if you've kept a blade on too long: you'll have to press too hard, leaving deeper marks in your mat and your fabric won't cut cleanly on the first pass of the blade. If you're left-handed like me, look for a rotary cutter that's easily 'reversible' as there are many that are made for right-handed use. Mine shown here is my very first (and only) rotary cutter I own - Olfa Quick Release 45mm rotary cutter - it's perfect!
And don't worry too much about getting scissors because what you can't cut with your rotary blade, you can probably clip with your seam ripper. But if you do want a fancy pair of snips, make sure they are only for fabric - using them on other materials will dull and ruin them faster than you can say Gingher shears.
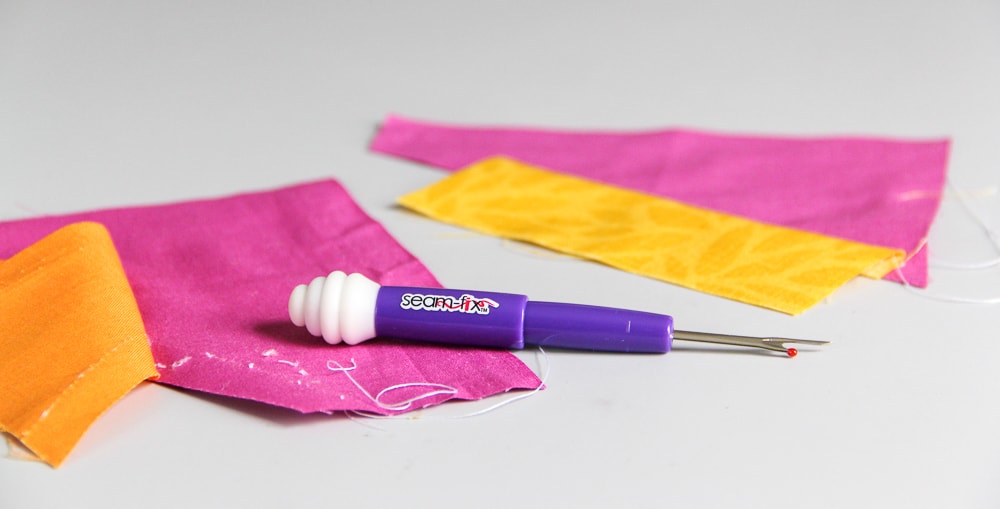
Seam Ripper
As with most goods, you get what you pay for. Seam rippers really aren't too expensive anyways - most are under $5, some upwards of $20 - so take more than a minute to pick one out. Look for size (it should fit comfortably in your hand), durability (does it look flimsy, like it could snap or bend easily?), and make sure it has a cap for safety when not in use (after all, it is a blade of sorts). I've used a few different brands of the forked seam rippers under $5, and I have to say my favorite is by far this mini Seam-Fix by Dritz. It always rips what it's supposed to and never the parts it shouldn't. The cap is doubly useful: it covers the blade when not in use and the eraser-looking rubber piece is great for sweeping away those teeny tiny pieces of thread that get left behind after ripping. It's small size means I can easily store it in my sewing machine for quick accessibility because my seam ripper gets used at least once nearly every time I sew.

Iron
Pressing (which is different than ironing) is a super important part of the quilt making process. Perhaps strangely, it's one tool that I would argue you actually don't need to spend a lot of money. And before you're like, 'whatever, you're crazy!' hear me out: A hot, dry iron is best for pressing as it's less likely to ruin your fabric with scorching, warping or shifting. How many times have you used an iron with water in it, only to have it leak or spit, or worse it clogs and calcifies? So keep water out of it from the start - if you never put water into your iron, it's likely to last much longer than it's warranty. So go on and buy an iron of any kind that has an automatic shutoff. And if you really need to use steam, just keep a spray bottle with filtered water nearby for lightly misting stubborn creases. I’ve had my Rowenta iron for years and love it.
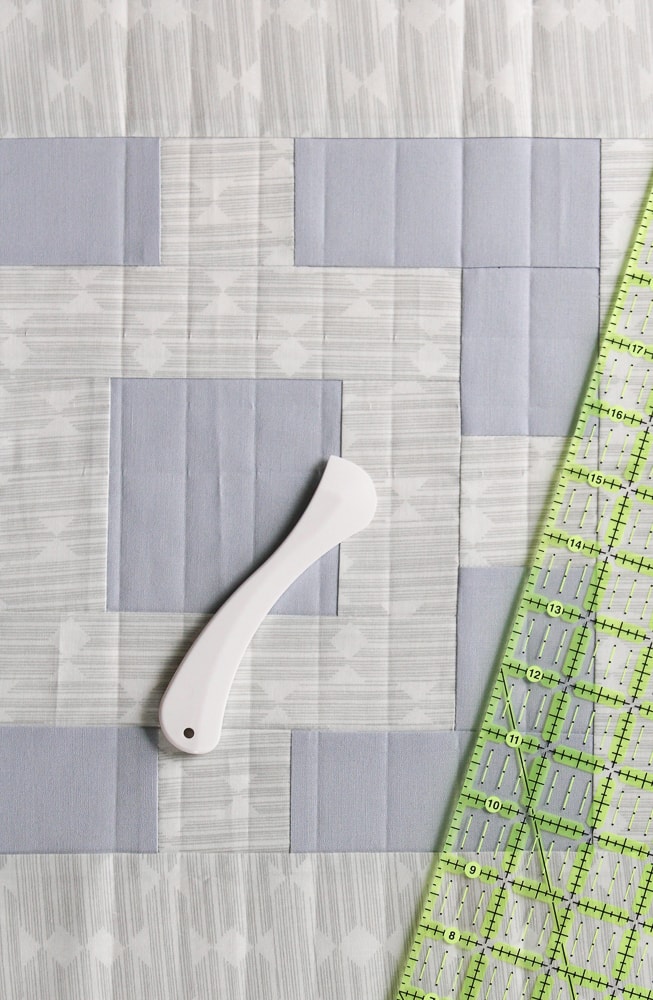
Hera Marker
If you have one marking tool for quilting, the Hera marker is your new BFF. This handheld plastic spatula uses a sharp edge to create a crisp, temporary crease in your fabric. Because there is no chalk, pen, pencil or ink, you never have to worry about residue on your pieces. You can use it for marking simple diagonals on squares, like when making HSTs, or on your basted quilt top to mark quilting lines. You don't have to sharpen it or otherwise maintain it. It's durable, easy to use, and inexpensive. It's definitely one of my favorite quilting tools!

Pins for piecing
There are about as many different brands, sizes and styles of pins as there are sewing needles. The best choice for piecing pins? One that is sharp, straight, and has a glass head (so they don't melt when ironing too close). I like Clover patchwork pins best. As soon as your pins are showing signs of wear - like snagging or pulling fabric or they are bent - it's time to replace it.

Bin or Basket for scraps & trimmings
Keep a box, bin or basket at least 2 gallons in size to hold all of your fabric scraps and trimmings. One with a lid is better, to keep out extra dust. Your quilting supplies are too pretty (and expensive!) to throw away. There are plenty of patterns and tutorials that use only scrap fabric to create. And I've been gathering a collection of ideas on how to use fabric trash - those pieces of cotton, batting and thread less than 1" square - so they can be reused too! Or if scraps aren't your thing, at least offer them up to another quilter before you toss them - one persons fabric trash is another's future quilt!

Basting
This is one area where personal preference will determine your necessary supplies. Basting, the process when you put your quilt backing, batting and top into a quilt sandwich to prepare for quilting, is commonly done one of three ways: with pins, spray, or needle and thread. (There are other ways to baste a quilt, but we're not talking about that today). Without getting into the specifics of each process, you may choose to test out each method to decide which you like best. If you choose to pin, buy quilting curved basting pins. It's essentially a safety pin with a slightly bent pin side, making it easier to penetrate the quilting layers without shifting fabrics. The pins are not infinitely reusable, but it will be a very long time before they will need replacing. If you choose basting spray, know that it can be expensive since the spray is (obviously) not reusable, but this is often the fastest basting method. If you choose needle and thread, you'll need to stock up on some contrast thread - also not reusable, but much less expensive than spray.

Binding
You're in luck! For the quilt binding, there are no necessary supplies specific to this part of the quilt process. Most binding in quilt patterns recommends to make straight of grain double fold binding, which you don't need a bias tape maker for. Then when attaching the binding to the quilt, many quilters swear by Wonder Clips but you don't need these. Instead, use your straight pins, or no pins at all. Binder clips from the office supply store are a great less-expensive alternative. Bobbypins or other plastic-coated hair clips can even substitute here if needed. You're a quilter now - get creative!
Are there any other quilting notions you just can't live without? I have a few others - you can shop more of my favorite products here!