
Quilt Binding: Attaching the Binding
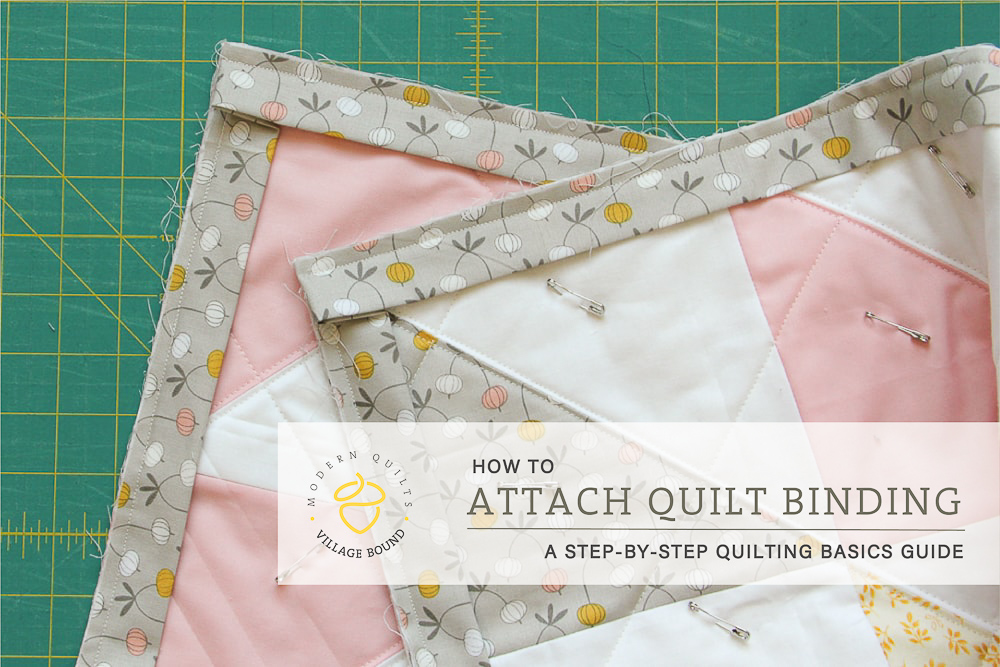
Now that we've made our binding, it's time to get that long and lovely fabric attached to your quilt! From first stitch to joining the ends and the mitered corners in between, here's how to attach your binding to your quilt.
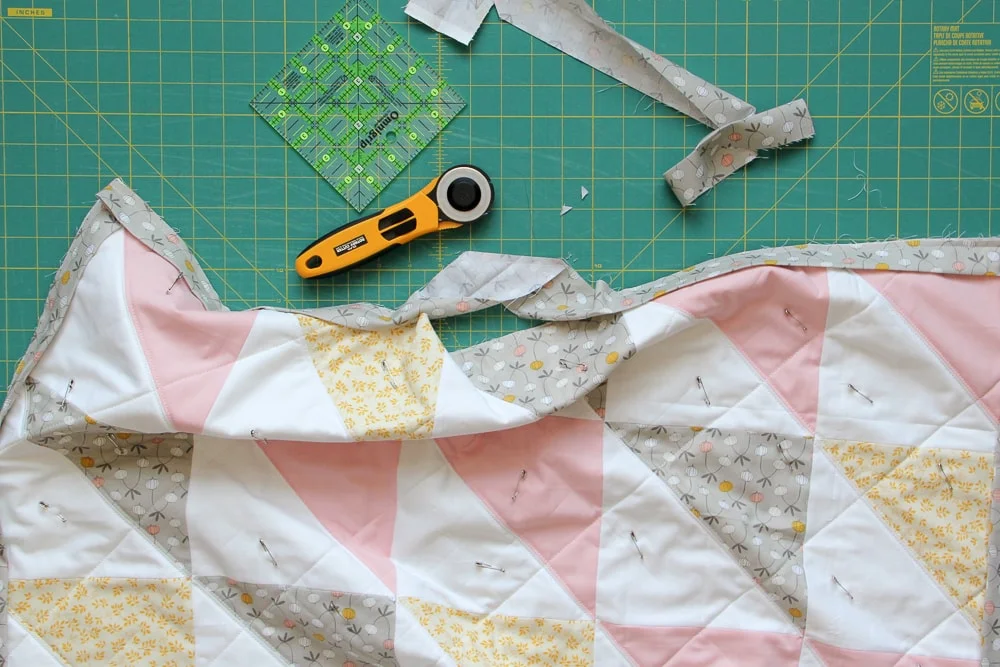
Prep your quilt
If you haven't already, get your quilt prepped for attaching your binding. After quilting but before squaring it up, I like to use a basting stitch around the entire perimeter of the quilt using a scant 1/8" seam allowance and a large stitch length (usually 5.0, the largest my machine goes). I do this for a couple of reasons. The first is that depending on how I've quilted my quilt, these extra stitches can help hold my quilt sandwich together (the quilt top, batting and backing) along sides where quilting may be less dense. The second is that it can help further secure my quilting lines in the even that I forgot to backstitch to secure them near the quilt edges. And the third, but not least importantly, I find that adding this extra stitch around the quilt perimeter makes it loads easier to add the binding strip without worry of the quilt sandwich edges shifting, bunching or folding. Even when using my walking foot, sometimes those quilt edges try to get a little unruly, and basting first helps alleviate that issue. I don't often use pins when I'm sewing (more from laziness than experience), but placing straight pins along the quilt edges will make this part easy peasy. Place the pins every 2 inches with the pointed side towards the quilt edge and sewing that basting stitch will be much less frustrating than it has the potential for.
After you've basted, square up your quilt top to remove the excess batting and backing fabric and straighten out the quilt. If you end up trimming away some of the perimeter stitching you just did as you're squaring up your quilt, don't stress! Those stitches were only meant to be helpers and were neither aesthetic nor required, so there's no need to go back and sew the edges again (unless you really want to). If you're lucky enough to own a serger or overlock machine, this is a great time to use that tool for squaring up and finishing quilt edges before binding!
Avoid this - rework the binding layout before sewing to eliminate having seams near corners.
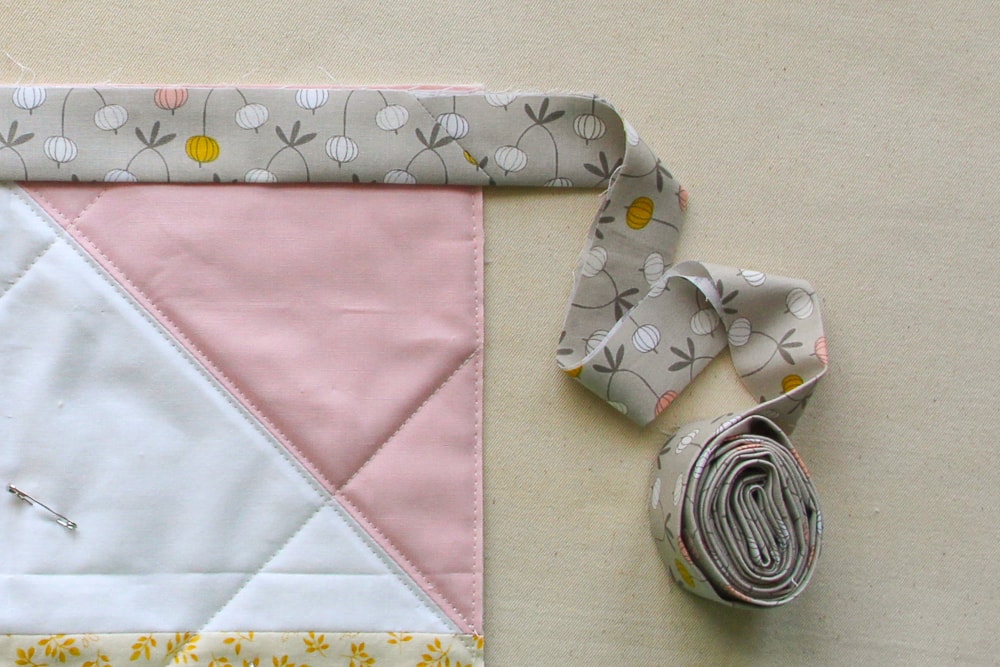
Lay it all out
Take a few moments to a quick layout of your quilt with binding to make sure you don't end up with binding seams at quilt corners. Those bulky joints can be difficult to fold into crisp mitered corners when we start sewing. If you do come across this, simply shift your binding around until there are no seams near quilt corners. You'll also find it easiest to start your binding in the center of one quilt side - working too close to the corners can make joining your binding at the end a little tricky.
Decide if you want to attach your binding to the front of your quilt (the quilt top) or the back when you sew it on. My preference is to attach binding to the front of the quilt first, as I like the way it looks with the 'invisible' attachment if you're going to be finishing the binding by machine. If you're going to finish the binding by hand with a blind stitch, then both sides of the quilt binding will look very similar. There is no right or wrong side to attach it to first, so you decide.

Binding attached on the front, finished on the quilt back by machine.

Binding attached on the front, finished on the quilt back by hand.
This is also a great time to make sure you did your quilt math correctly and that you have sufficient binding length to fit your quilt. If the ends of your binding strip do not overlap by at least the width of the fabric (so 2.25" binding should overlap a minimum of 2.25", 3" binding should overlap a minimum of 3", etc), add an amount that's at least double the width (2.25" should add at least 4.5", 3" should add at least 6") to your binding tape before moving on. You'll end up trimming most of this excess away, but having it will make the binding process much easier (because you won't be stressed about fitting the ends together at the end). And remember, if you need help with making your binding, instructions on how to calculate what you need can be found here.
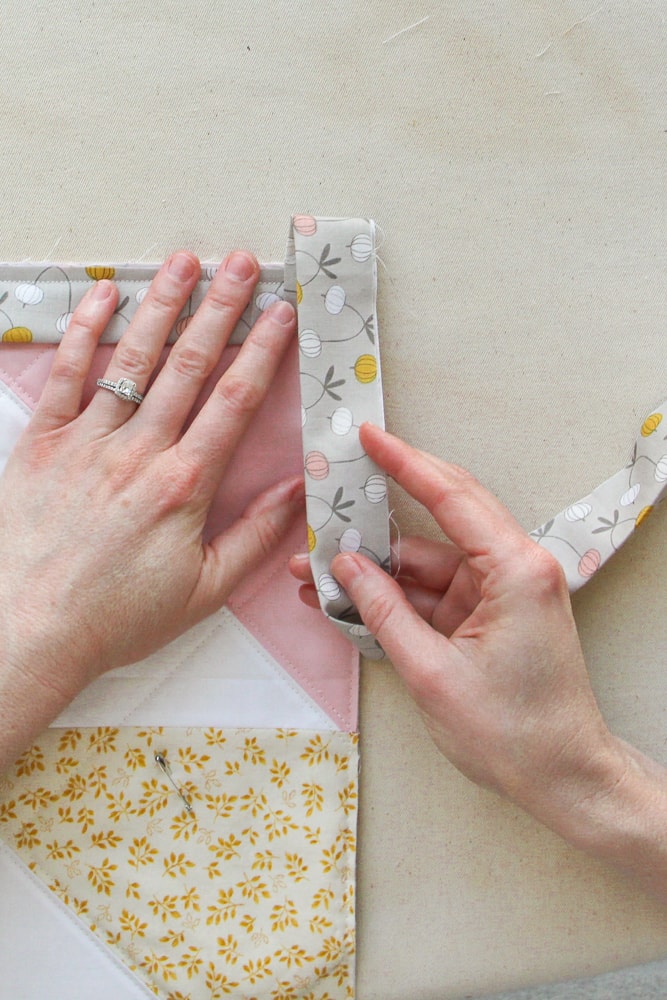
When you're satisfied with the general binding placement, begin securing the raw edge of your binding to the raw edge of your quilt. You have a couple of choices on how to do this: you can pin the binding around the entire quilt (not recommended because you'll likely be poking yourself throughout the sewing process), you can pin as you go by only pinning one side at a time, or no pins at all - it's really a personal preference here. If you do choose to pin, insert your pins so that the head of the pin is closest to the middle of quilt, with the tip pointing towards the raw edge, which will be easier to remove as you sew. I like to only use a few pins when I get to my corners, but otherwise I typically just use my hands to align the raw edges of the binding and the quilt as I sew around the edges. Alternatively, many quilters swear by Wonder Clips but as I've never owned any, I can't comment on their usability.

Start sewing
Starting 8-10" away from the binding end, begin sewing the binding to the quilt making sure to backstitch at the start and using a standard 2.5 stitch length. Assuming you're using 2.25" binding, you'll use 1/4" seam allowance around the full perimeter of the quilt. If you're using a wider binding, you'll want to increase your seam allowance accordingly so that the binding is near-even on each side. When you approach the end of the binding tape, leave at least 10" of space between your starting stitch and ending stitch where the binding is not attached. Backstitch at the end to lock the stitch in place.

Stop when you get 1/4" from the end, and backstitch to lock the stitches in place, marked here by the rightmost pin (the left pin was the start of sewing).
Mitered corners
(pronounced my-turd, not me-turd) corners are crisp and fabulous. Here's how to do it.
When sewing along an edge, stop when you get 1/4" from the end, and backstitch to lock the stitches in place. Snip your threads and move your quilt to your working space*.
Lift the working edge of the binding tape to form a 45-degree angle at the crease, making sure that the working binding tape is now perpendicular to the part you just sewed, and the raw edge of the binding tape is parallel with the next raw-edged side of the quilt.
Next, fold the working edge of the binding tape back down over itself, making sure that the fold at the top is evenly aligned with the quilt edge. if you hold this folded bit up, it should make a perfect triangle, fabric edges on all sides aligned together.
Laying the binding tape flat, start sewing again, this time working from the very edge of the quilt, backstitching at the start of your stitches.

Lift the working edge of the binding tape to form a 45-degree angle at the crease, making sure that the working binding tape is now perpendicular to the part you just sewed, and the raw edge is parallel with the next raw-edged side of the quilt.
Next, fold the working edge of the binding tape back down over itself, making sure that the fold at the top is evenly aligned with the quilt edge. if you hold this folded bit up, it should make a perfect triangle, fabric edges on all sides aligned together.

Holding up the 'triangle' that was formed by folding the binding correctly. Lay the binding tape flat and insert a pin, or several, if desired. When you start sewing again, start at the very edge, backstitching at the start.
It may not look like it just yet, but you've just sewn the start of a perfect mitered corner! There are fancy gadgets and funny-looking little square rulers to help with mitered corners and joining binding tape, but you don't need them (if you want them, that's cool too). This process can take a bit of practice if you've never worked mitered corners before, but just work patiently and slowly, and you'll find it's actually very easy!
*I've included photos of the process 2 ways: working away from the machine, and working right at the machine. The first, where I snip the threads after step 1 and move your quilt back to your working space for the next steps of folding and aligning, is easiest for beginners as you have more room to work the binding into place. Alternatively, you can leave the threads attached after backstitching, lift the needle and presser foot, and working near the plate of your machine you can fold your binding into place. It's pretty simple to do and saves me the step of snipping threads. Either way, you'll end with the same result - gorgeous mitered corners!

Stop sewing with 1/4" left and backstitch to secure. Without cutting threads, lift your presser foot and needle, create the 45-degree angle fold with the binding, working near the sewing machine.

With threads still attached, rotate your quilt so that the next edge to sew is now aligned with the machine foot, folding the working edge of the binding back over itself.

With the binding aligned to the adjacent edges, lay flat and start sewing again from the quilt edge, backstitching to secure the stitches. You'll have a few loose loops from the thread remaining connected, but these will get tucked inside the binding at the finish of the quilt.
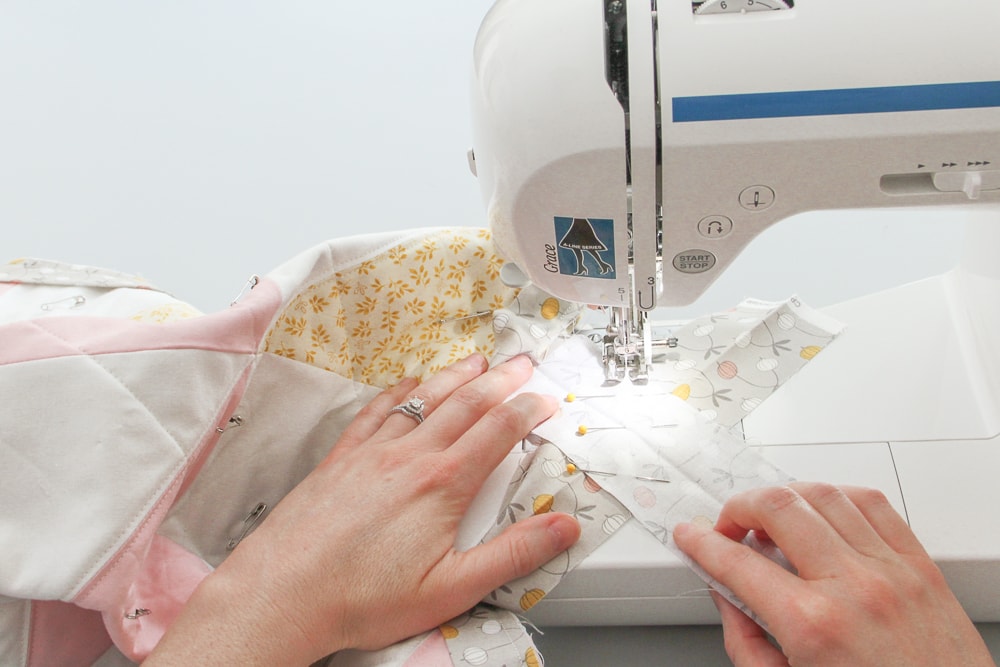
Joining the ends
Now that your binding has been secured all around your quilt, it's time to sew those ends together so that the binding is one continuous piece around your quilt.
After leaving a minimum 6" of tail on either end, fold back the binding on each side, leaving a 1/4" gap in between.
Using a straight pin, poke it through the inside intersecting crease on one side (left for me, because I'm left-handed), and through the outside interecting crease in the other. Twist 90 degrees, making an X shape with the binding tails.
Pin the X in place, using the first center pin and adding additional pins if needed.
Sew a straight line separating the 2 binding pieces connected to the quilt from the 2 binding tails. Backstitch at the start and stop.
Trim the excess tails leaving 1/4" seam allowance.
Open the seam and press. Finger-press should be sufficient, but feel free to iron. Fold the connected binding in half and align the raw edges with the edge of the quilt.
Return to your machine and finish attaching the binding, backstitching at the start and stop. I like to start and end about 2" beyond each previous starts/stops to ensure security.

1. After leaving a minimum 6" of tail on either end,

fold back the binding on each side, leaving a 1/4" gap.

2. Place a pin through the inside intersecting crease on one side and through the outside interecting crease in the other.

3. Twist 90 degrees, making an X shape with the binding tails. Pin the X in place, using the first center pin and adding additional pins if needed.
4. Sew a straight line through the center, separating the attached binding from the tails.
5. Trim the excess tails leaving 1/4" seam allowance.

6. Fold the connected binding in half and align the raw edges with the edge of the quilt.

7. Finish sewing the binding to the quilt.
Next steps
And that's it! You've successfully attached your binding to your quilt. Now all that's left is to finish it up by hand or machine on the reverse side of your quilt. (Tutorials for each coming soon!)

Next up: how to finish your quilt binding. (stay tuned)