
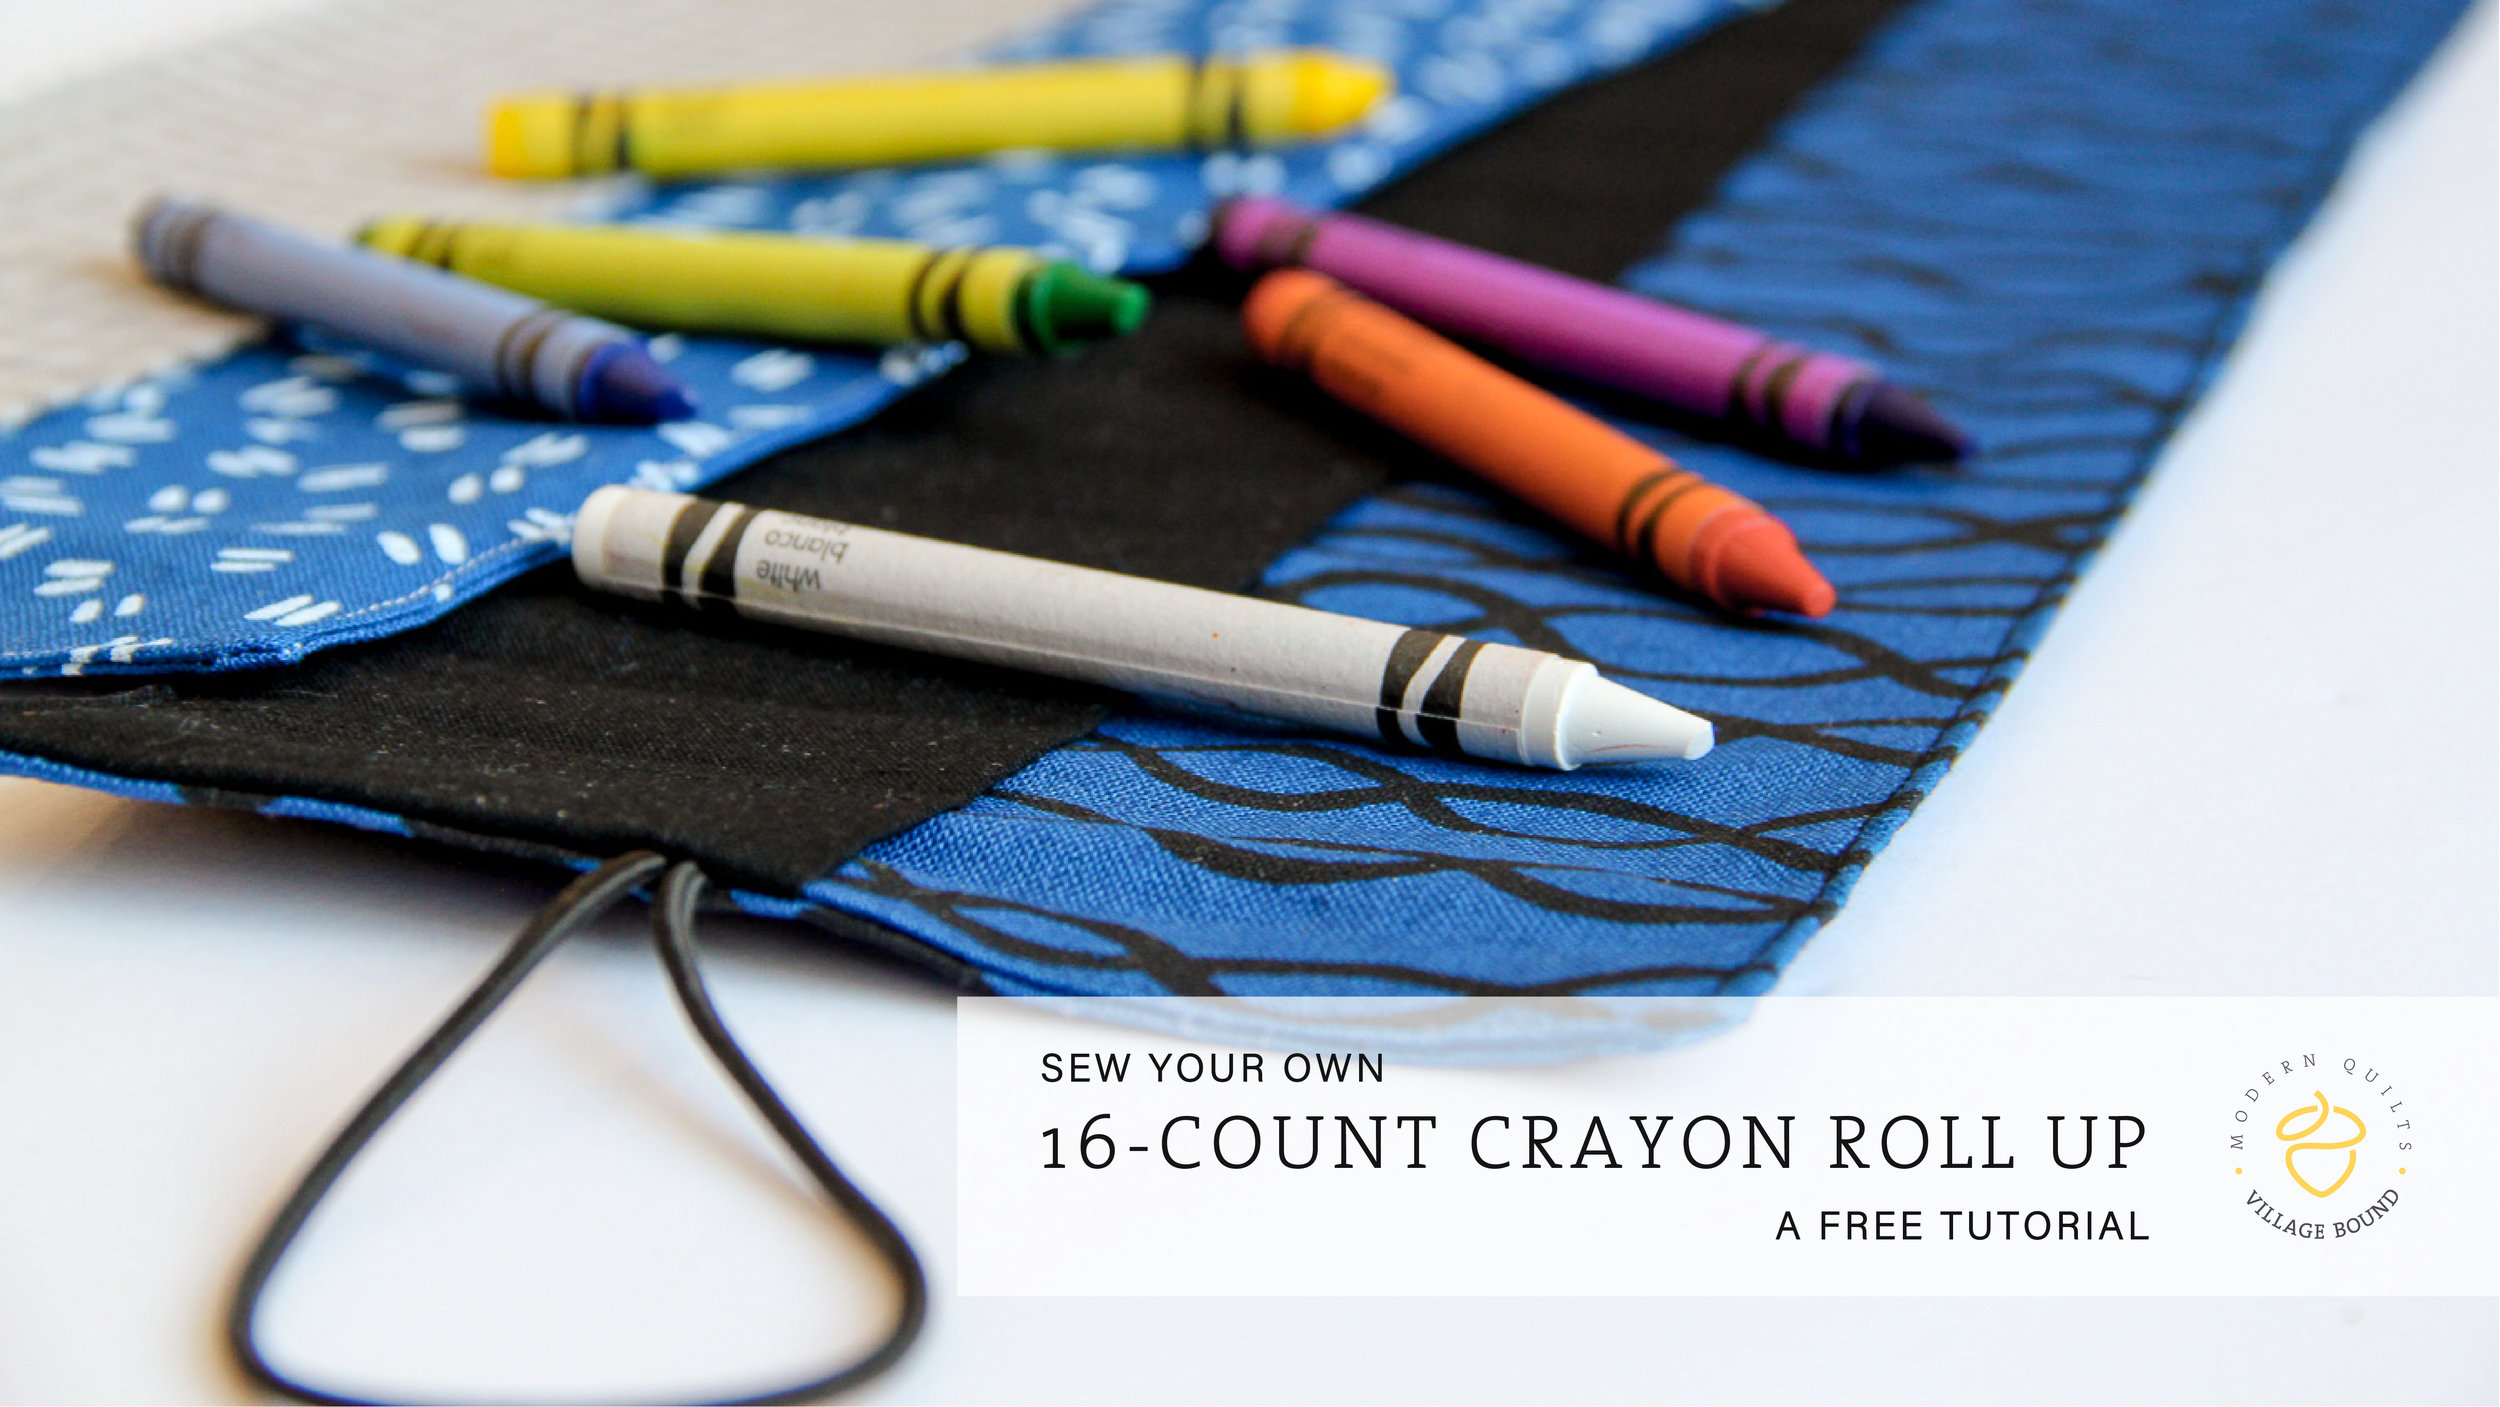
Crayon Roll Tutorial
I used to keep a classic set of 8 jumbo washable crayons in their box in the diaper bag when we traveled about. It was the easiest way to make sure I had some available at all times and also to make sure I packed them all up when we’d leave. Then my kid outgrew diapers, and so I outgrew the diaper bag. The crayons? They ended up in my purse. And then the box broke. And the crayons broke. Then he ‘needed’ more than 8 crayons. The zipper pocket of my Coach purse was covered in a rainbow of crayon wax (to clarify, this is not the kind of rainbow you want to have). It was clear I needed a solution that a ziplock baggie or a drawstring bag couldn’t handle. Even a handmade zip pouch wasn’t the best solution because the crayons would end up lost or broken or dumped out all over the table. Yikes.
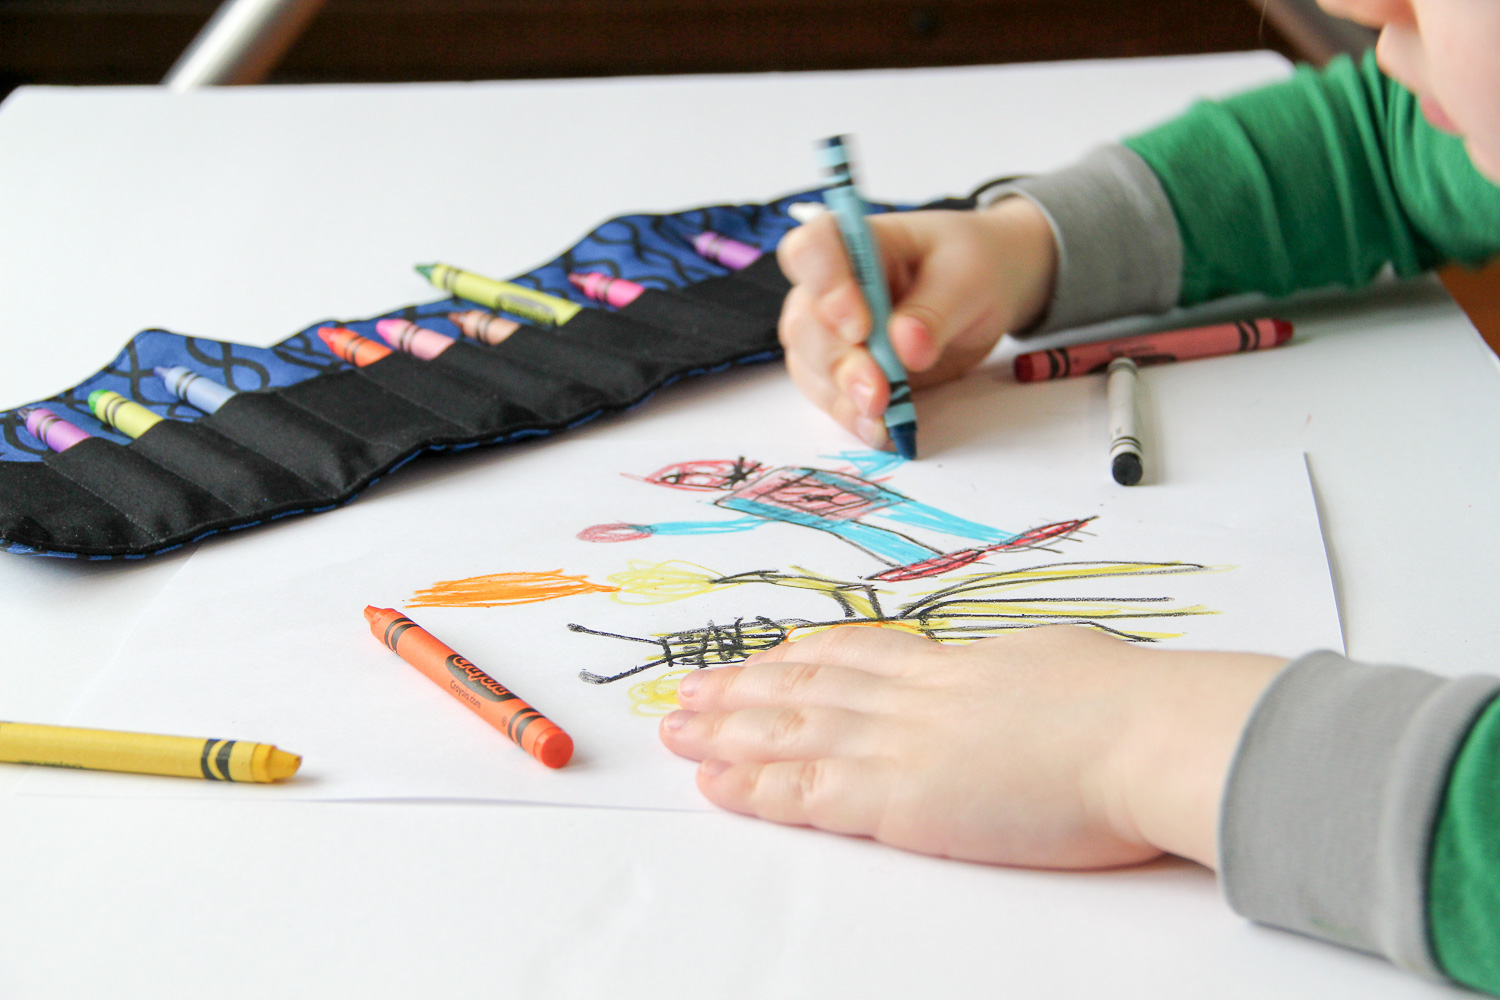
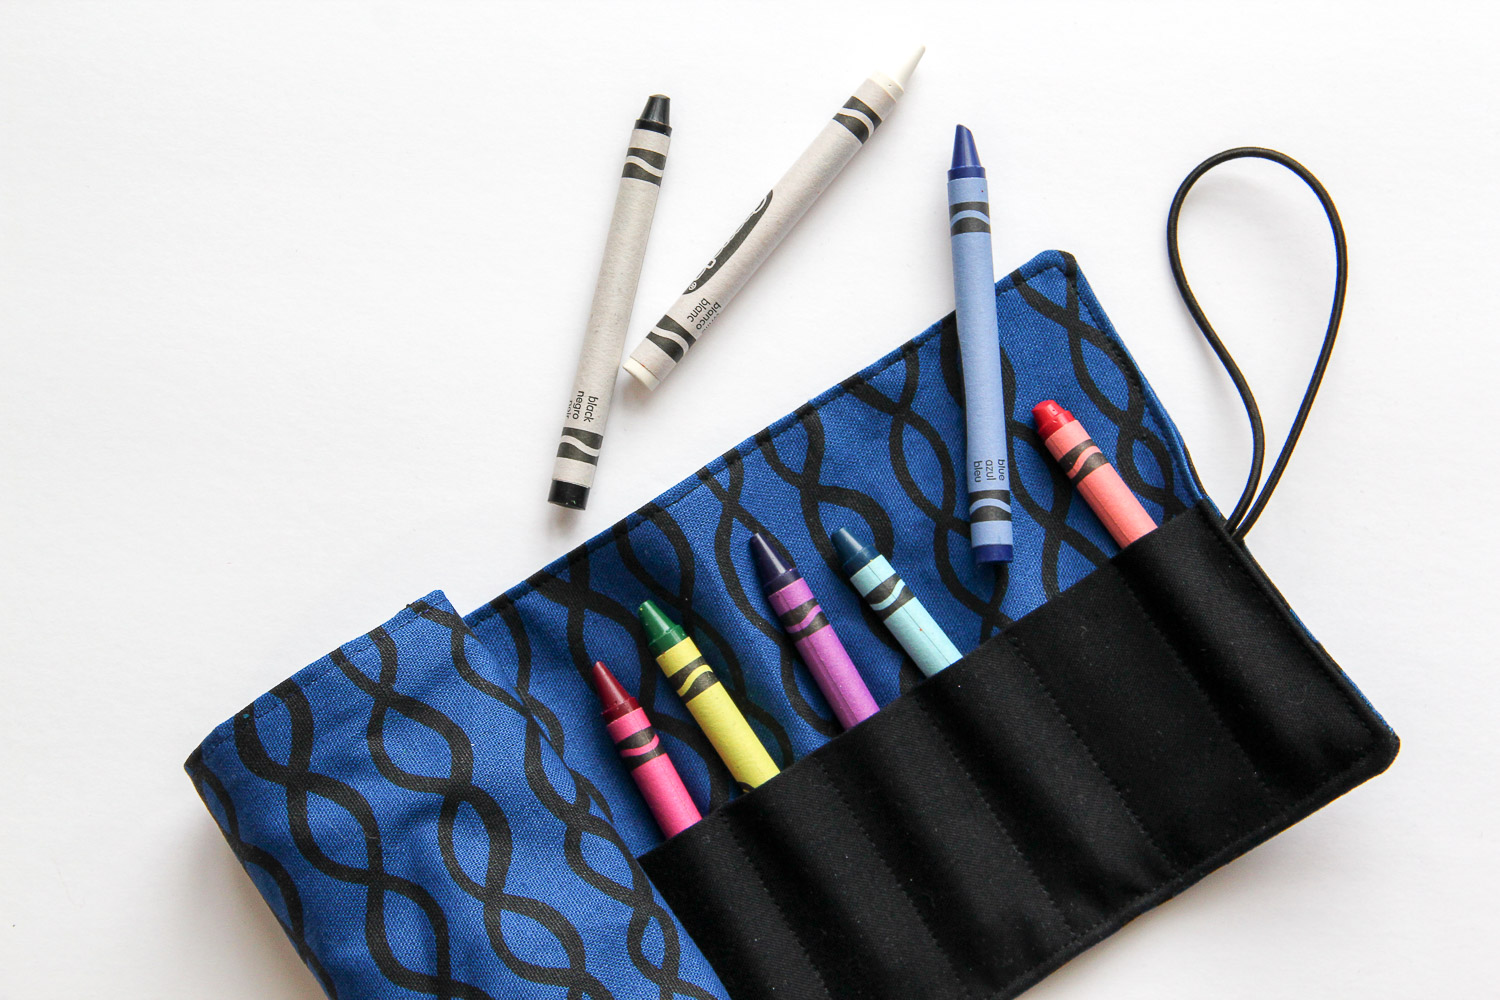
And then I remembered that I’d made a few crayon rolls as gifts. Why couldn’t I have one for my bag?! Lightbulb moment! And so I made quick work of calculating how much fabric I would need to fit 16 crayons - just enough for variety while traveling, but not too many - and also to make sure all those crayon tips wouldn’t be poking out of the top and coloring inside my purse without permission again. Giving each crayon a little home helps keep them from tumbling around the table, and also makes it really easy to see all of the colors at once. And using this in the car while road-tripping is awesome - no lost crayons! (lost= rolling into seat creases and melting in the summer months).
Save your purse from unwanted crayon confetti! It’s super easy to make your own crayon roll. Grab 2 fat quarters and an hour, and your waxy rainbow sticks will all be snuggled up in this fun and fashionable little crayon coozy. Your purse is going to love you for this! (And kids will probably like it too) ;)
Supplies:
2 FQ in coordinating (or delightfully contrasting!) colors
coordinating thread
acrylic ruler
45mm rotary cutter & self-healing mat
pins
fabric marking tool (I prefer Hera marker)
corner turning tool*
interfacing*
7.5” stretch elastic* (cording or 1/8” width elastic)
*indicates optional supplies
Tips:
FQ: fat quarter (cut of fabric)
WST: wrong sides together
RST: right sides together
Use a standard stitch length of 2.5 for this project
Be sure to backstitch at each start and stop
Instructions:
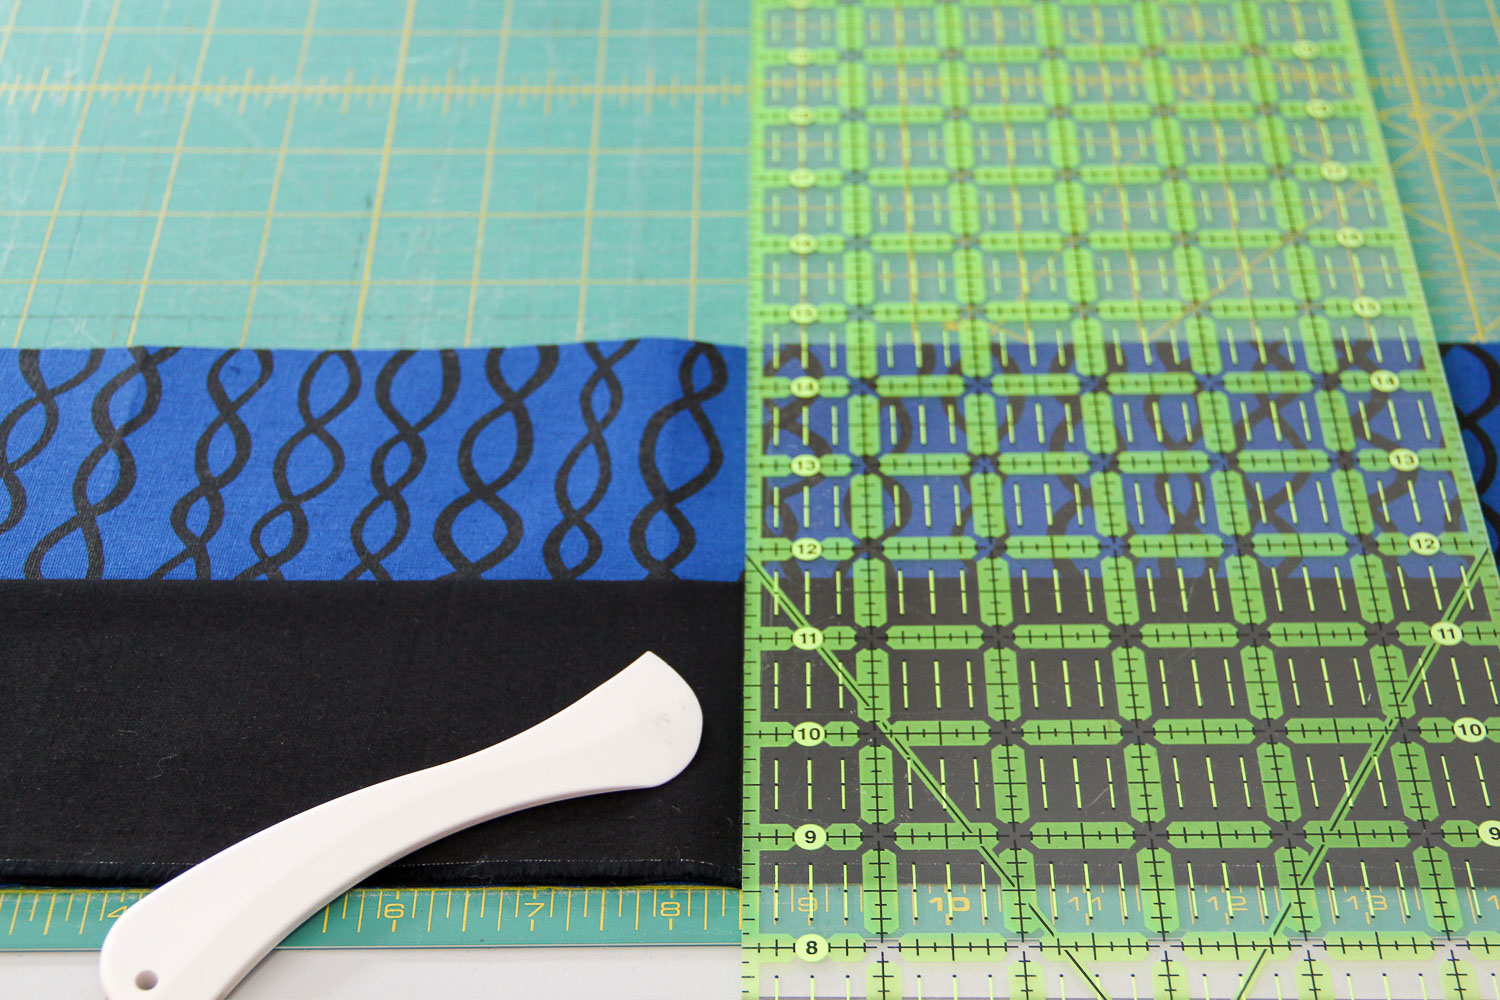
From the outer fabric, cut two (2) pieces 6” x 17”. Be sure that you cut directional prints accordingly - top to bottom is 6”.
From the crayon pocket fabric, cut one (1) piece 6” x 17”. Be sure that you cut directional prints accordingly - top to bottom is 6”. Fold in half, WST and press. This piece will now be 3” x 17”.

2 outer panels 6” x 17” & one pocket piece 6” x 17”, folded WST.
Align the pocket fabric on the outer fabric, RST, raw edges touching at the bottom.
Using a fabric marking tool (Hera), mark a single line in the center of the pocket fabric at 8.5”. Mark additional lines across the entire pocket at 1” intervals for a total of 15 lines. the ends of the fabric will have 1.5” space.
Mark the first line at 8.5”, then measure out 1” intervals for a total of 15 lines.
Pin the pocket piece in place at each end and a few points throughout to secure.

Pin around the pocket piece, securing it to the outer. Notice that each end will have 1.5” space.
Sew along each of the lines, starting at the pocket fold and ending at the raw edge, backstitching at each start and stop.
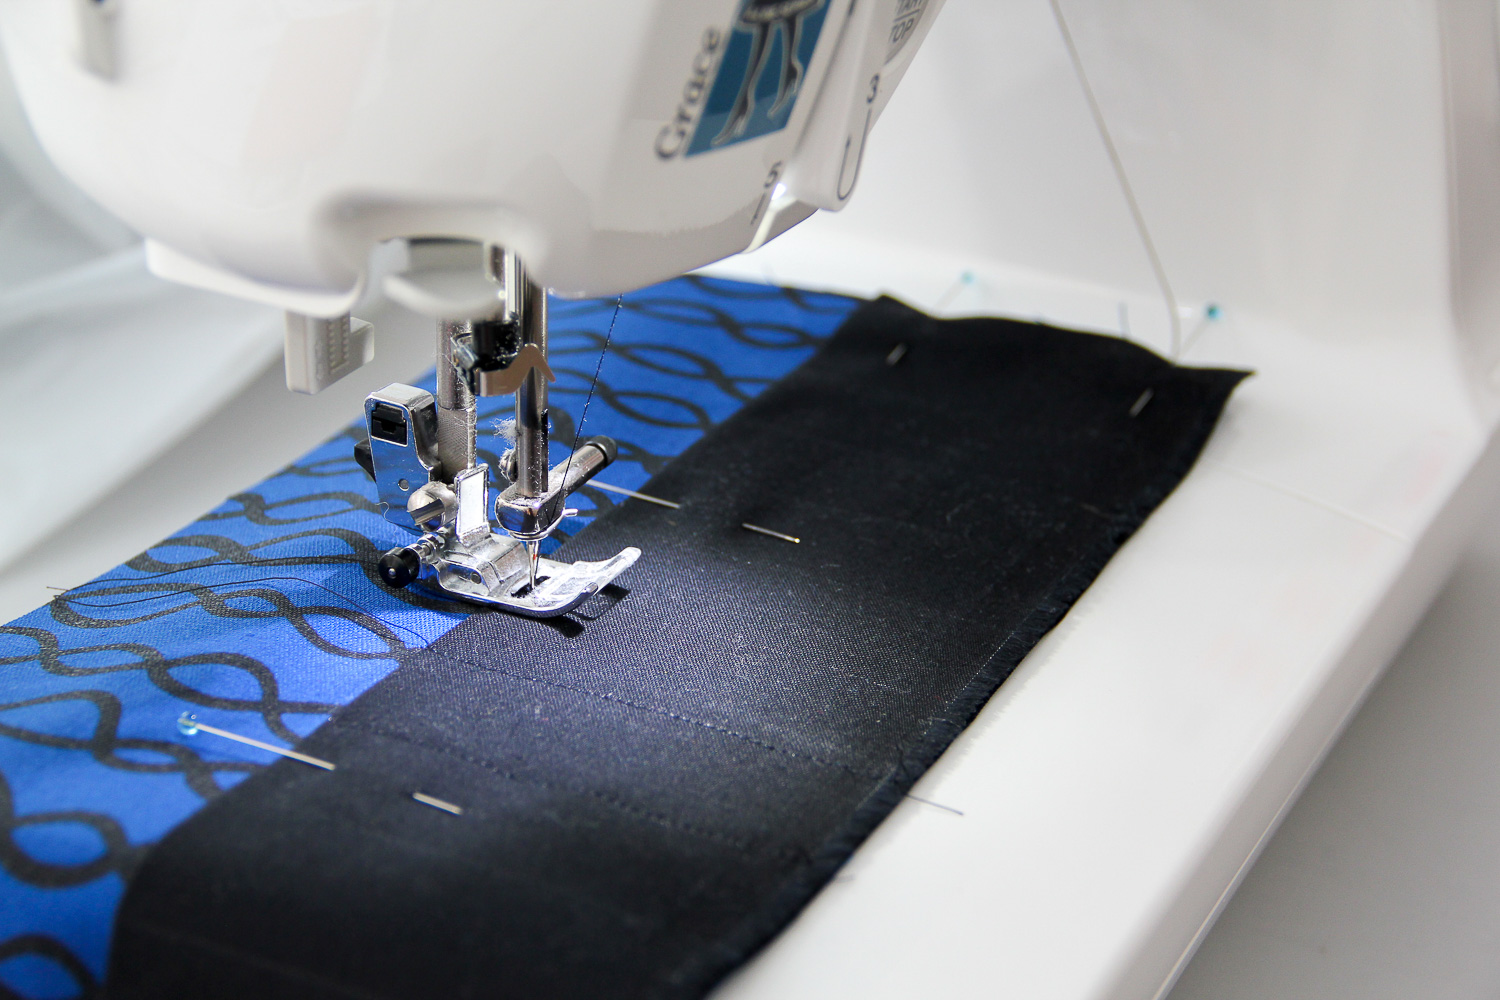
Sew along each of the 15 lines, backstitching at the start and stop.
Pull thread ends through to the wrong-side of the outer fabric. Tie knots for additional securing. Leave the thread tails, or trim if desired.
Place the elastic piece along one side of the pocket piece near the pocket fold (near the center). secure in place using a scant 1/4” seam allowance. If using binding strip (tutorial here for making binding), align the strip to the very center.
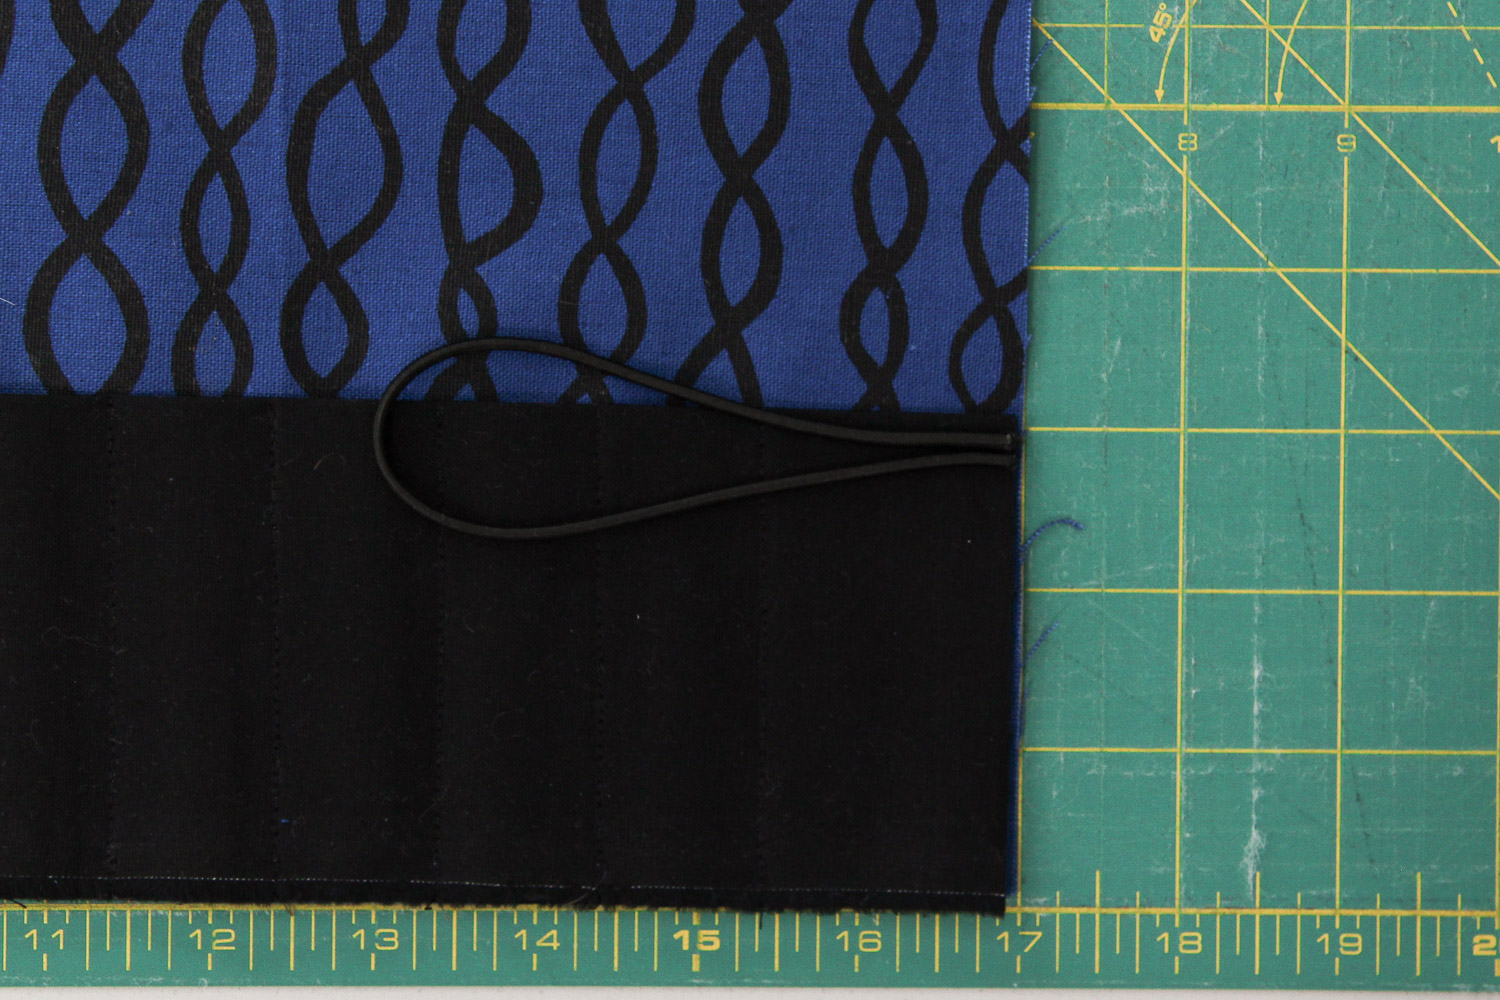
Align the raw edge of your elastic (or binding, if you choose) and secure with a 1/4” seam allowance.
If using interfacing (optional), cut one (1) piece 6” x 17” and follow manufacture instructions to fuse to the wrong-side of the outer fabric, securing the threads inside. The interfacing will add some structure to your fabric and to your crayon roll, but isn’t necessary.

If using interfacing, attach it to the wrong-side of the outer pocket piece, securing the pocket threads in between.
Place outer fabrics RST (the pocket and elastic/binding will be inside of this sandwich), pin around the edges, leaving a 4-5” gap along one long edge for turning later. Using 3/8” seam allowance, start at one side of the opening, sew around the perimeter and stop at the other side of the opening, taking care to backstitch at the start and stop, and backstitch over the binding/elastic part. I also like to backstitch at each corner, to keep it a bit stronger when turning corners later.

Sew around the edges with a 3/8” seam allowance, leaving a 4-5” gap in one long edge. Backstitch at the start and stop, and where the elastic is attached (shown here, between the two pins that are close together).
Trim corners, then flip the roll up right-side out. Using a corning turning tool (a chopstick or dull pencil will also work), poke the corners out.

Trim all four corners, making sure not to cut through the perimeter stitching you just sewed.
Press the roll up, making sure seams are as flat as possible. Pin along the 4-5” opening, aligning the folded edges.
Tip: If you press your seam edges down at the opening before turning right-side out, it will help to align the folded edges, making pinning and topstitching easier!

Pin along the 4-5” gap to keep pieces together when topstitching the entire crayon roll.
Top stitch around the entire piece using a scant 1/8” seam allowance, backstitching over the tie/elastic and backstitching at the start and stop, sealing the 4-5” opening in the process.

Fill with crayons and gift or enjoy!


Fabrics used:
To make a similar roll up, I used Arroyo Twist Indigo & Kona Black along with a scrap of elastic cording that came from a garment tag. I did not use interfacing on these two since the linen was a bit heavier than standard quilting cotton.
The second version shown, with binding tape closure, was made using Arroyo Dash Indigo & Cloud9 Checks Please Ash (similar grey gingham). I folded the edge of the binding tape into a point for aesthetics, but you could make a flat-fold at the edge too, just tucking in the raw edges 1/4”. Simply fold the binding tape in half and stitch along the folded edge with a 1/16” seam allowance to hold it all together.

Alterations:
You could easily substitute any light-mid weight webbing, strapping or long elastic as the closure. Ribbon or twill tape are also great alternatives. Even a long, thin hair elastic would work too. Get creative with what you already have in your notions or around the house!
If you’d like to make this roll up for 24 pencils or paintbrushes instead of crayons you’ll cut outer and pocket panels to 9” x 19”, still folding the pocket panel in half (so it will measure 4.5” x 19”). Mark your center line at 9.5”, then mark every 0.75” for a total of 22 lines, leaving 1.25” space at each end. Finishing instructions are the same.
Share Your Crayon Roll Up:
I would love to see your crayon roll ups on Instagram! Remember to tag me @VillageBoundQuilts and use the hashtag #CrayonRollVBQ.

Please note that even though this is a free pattern/tutorial, all of the instructions are my copyrighted work. This pattern is for personal use only and cannot be reproduced or sold. Duplication of any kind is prohibited. All rights reserved.


